
How I Did This Amazing Halloween-Themed Cat Photoshoot
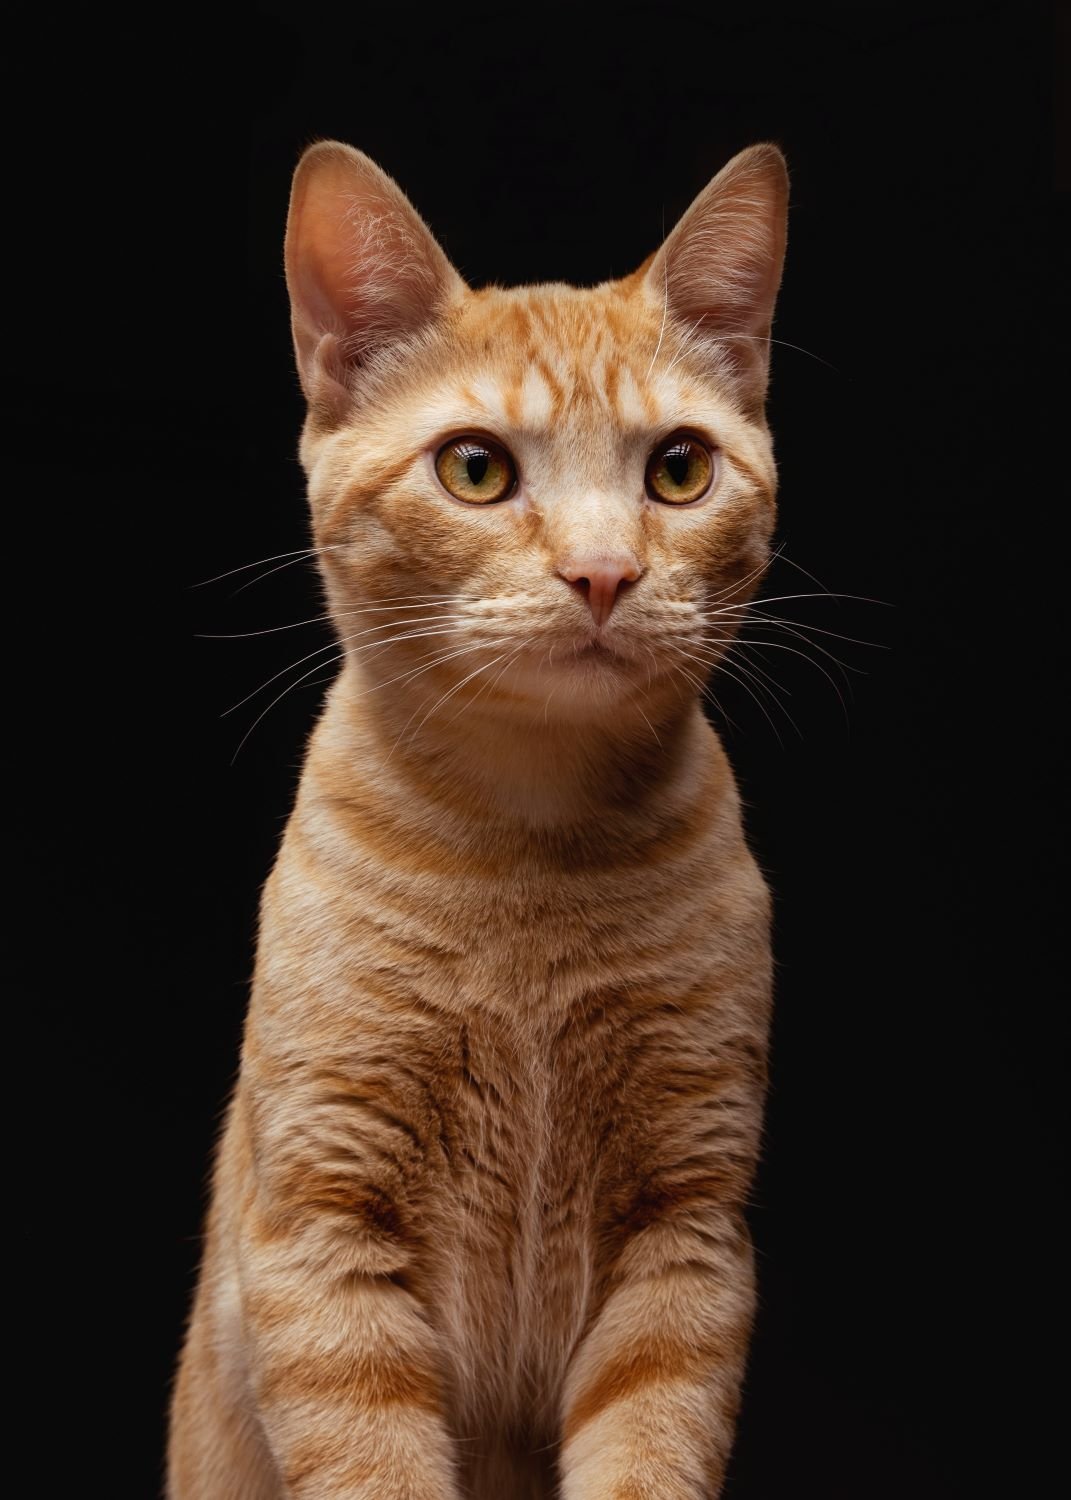
Fall is finally here and to celebrate, I did a spooky/autumn-themed photoshoot with a cat named Cheddar. Here I will walk you through how I set up and captured these amazing images!
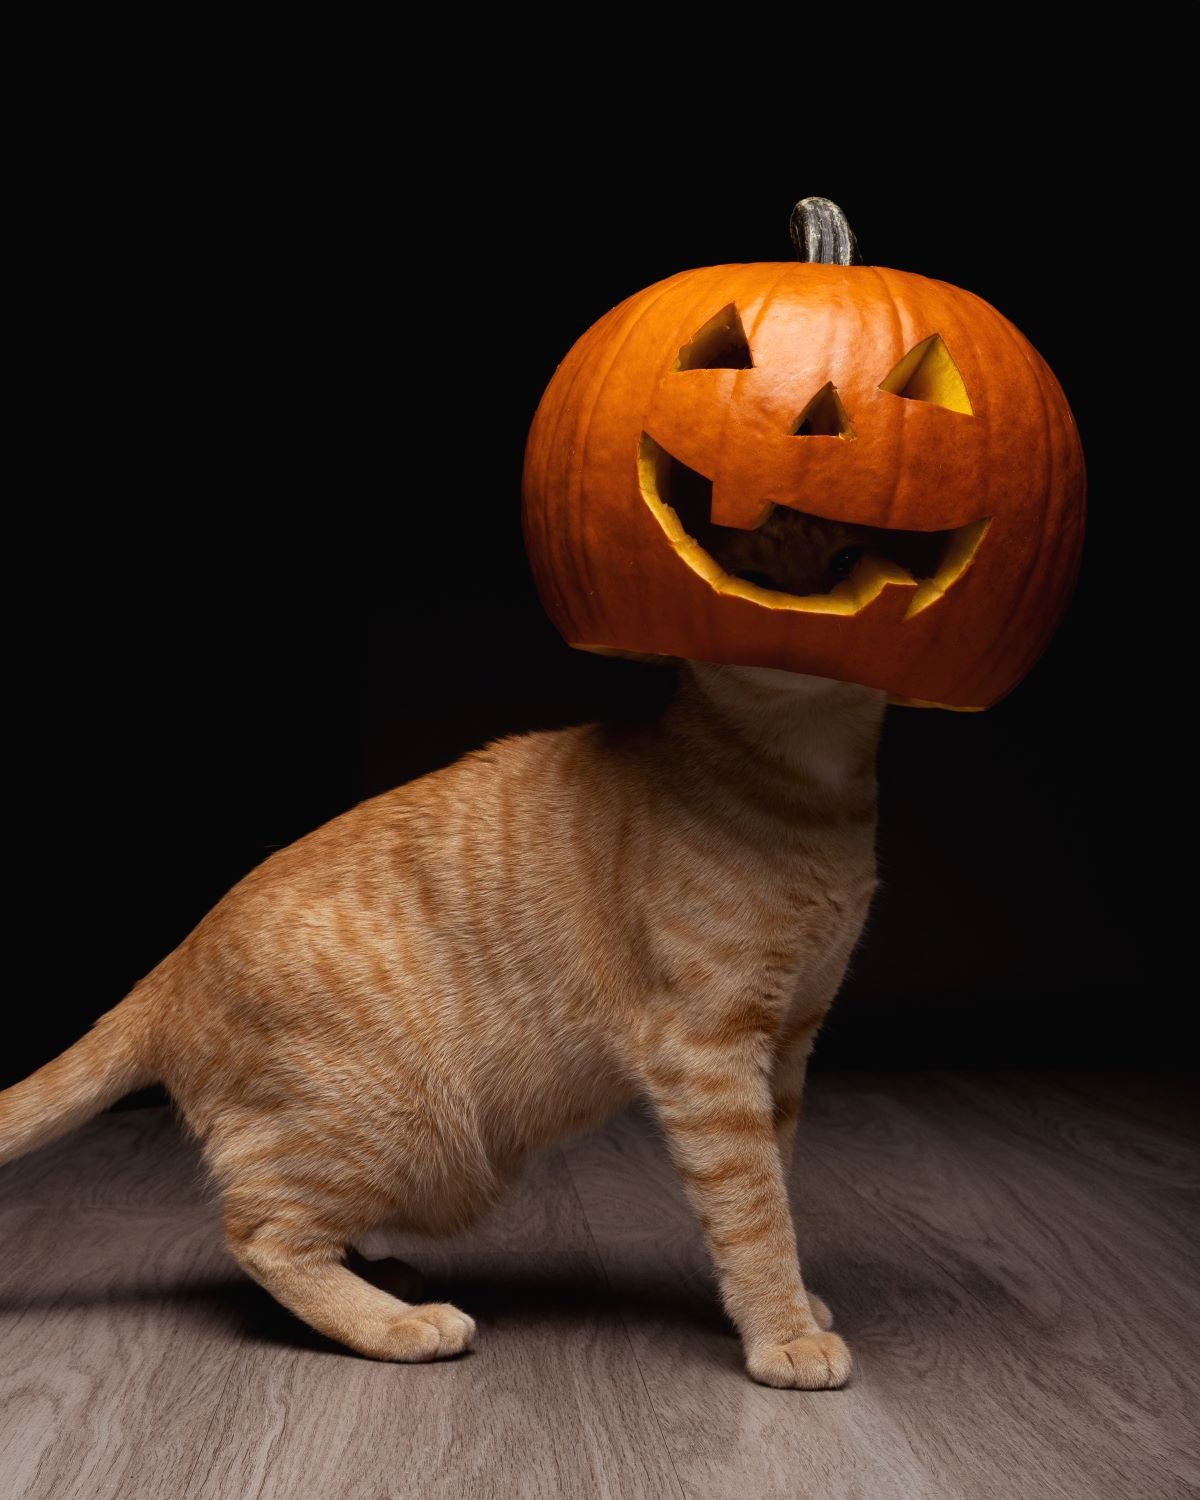
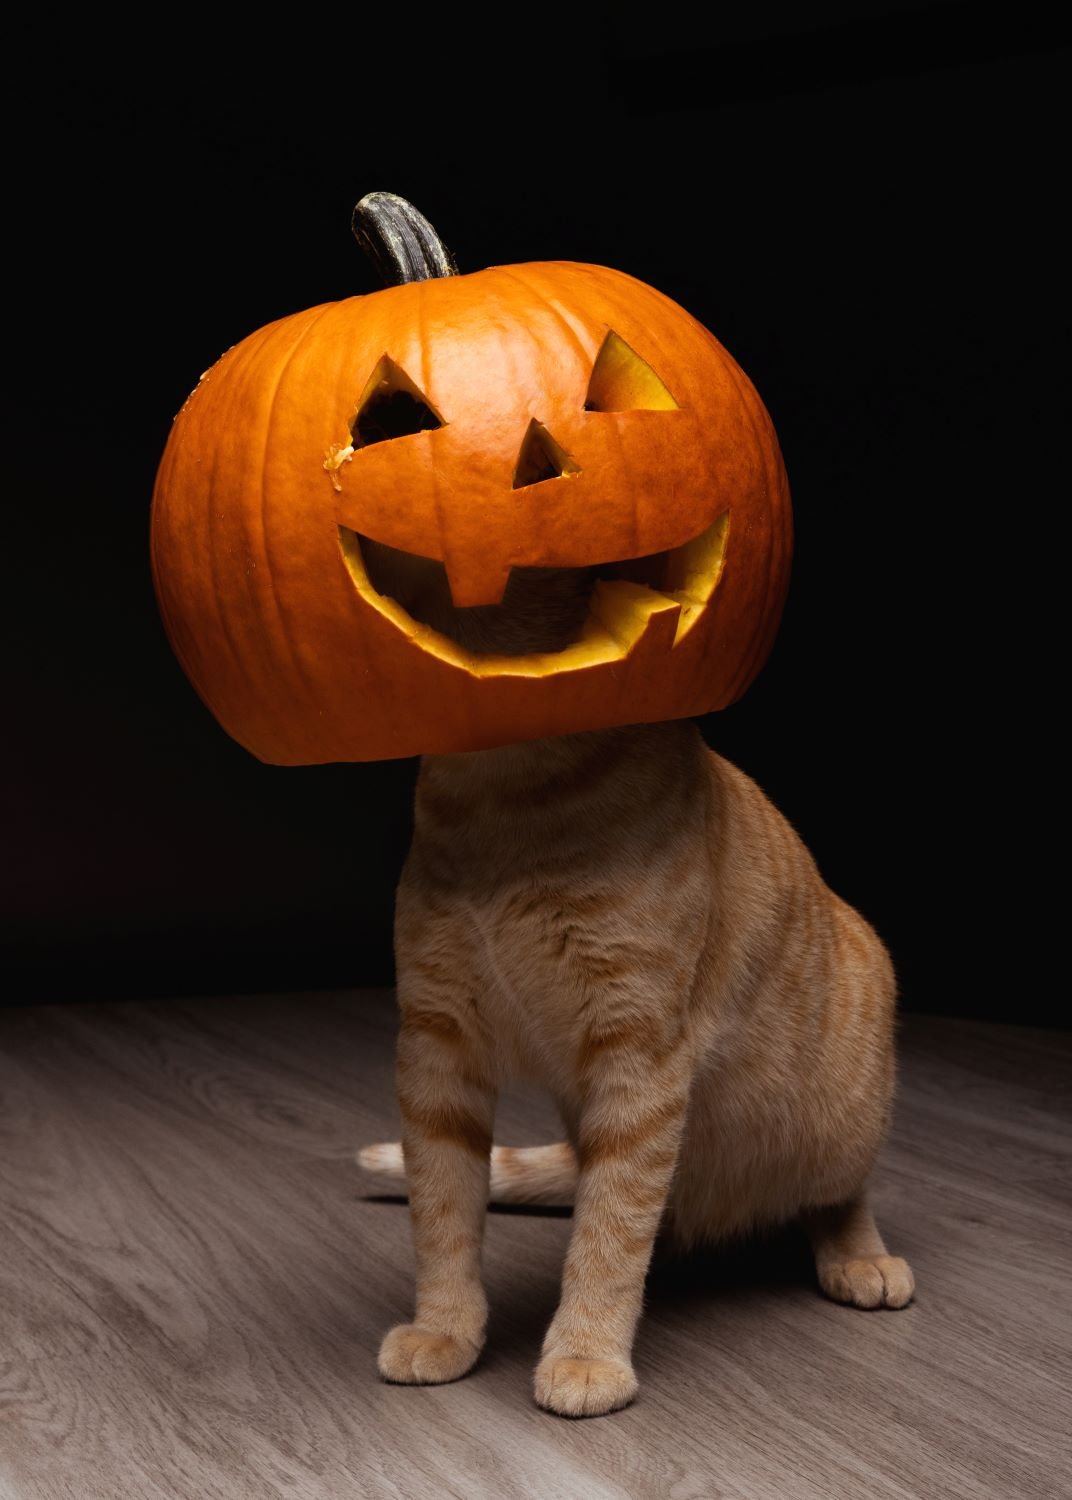
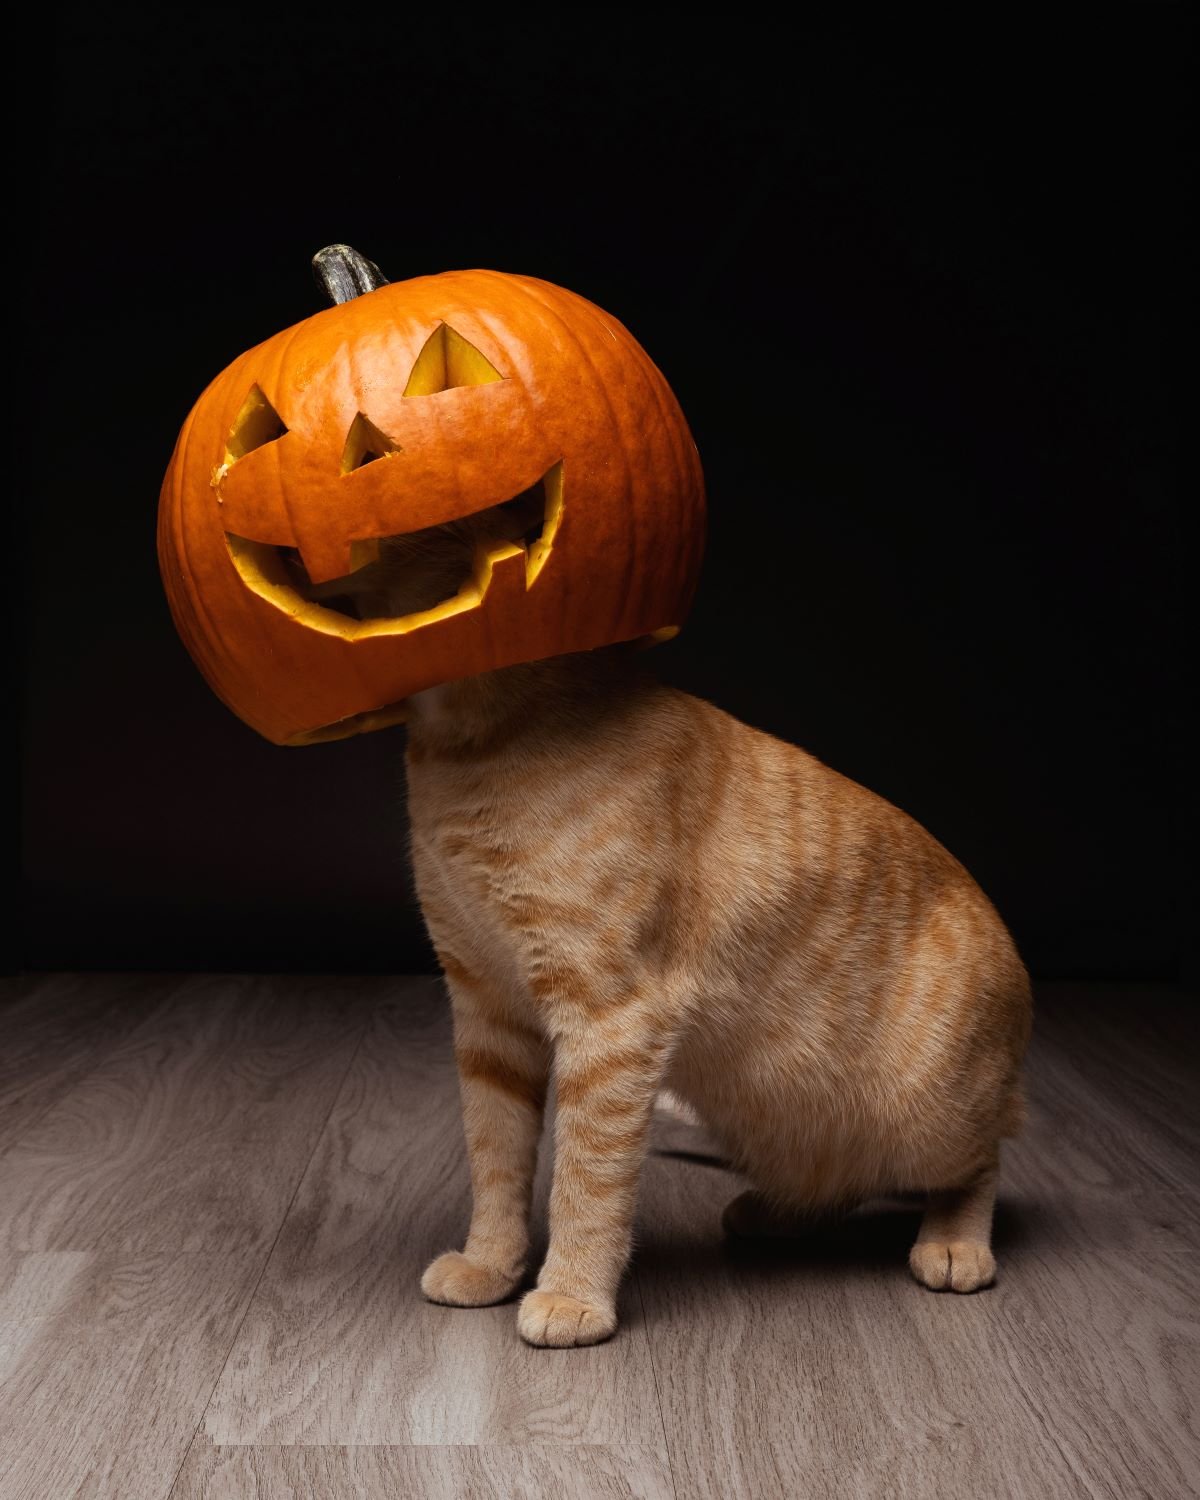
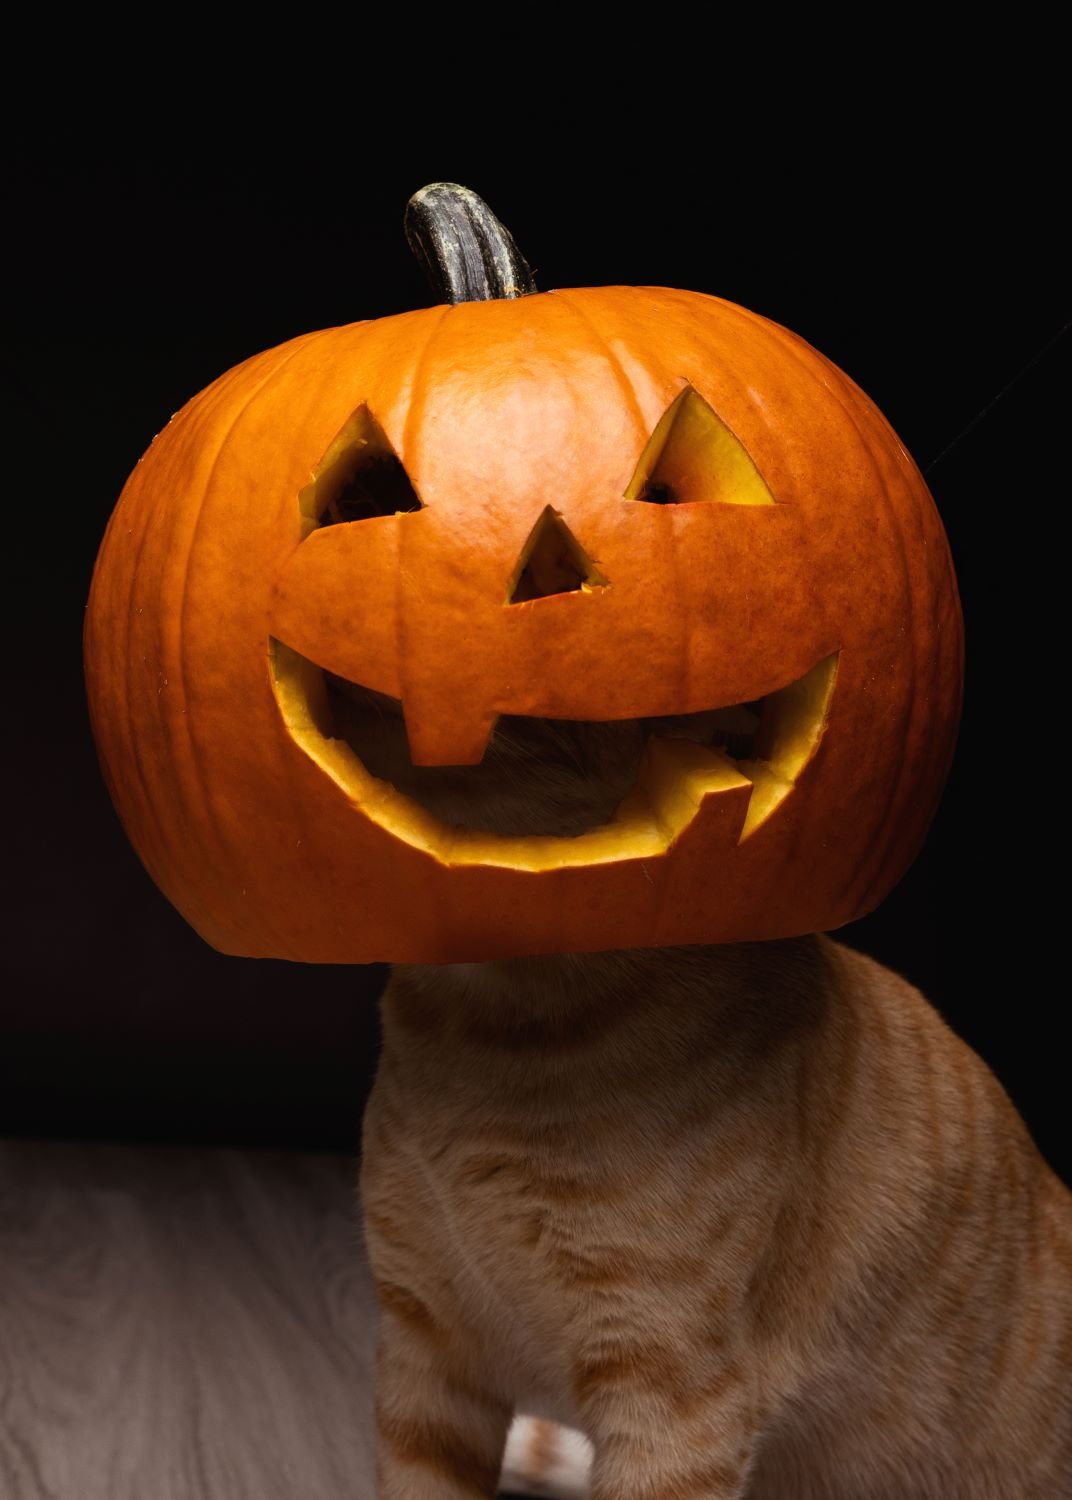
I saw some pictures on Instagram of cats with pumpkins for heads and immediately wanted to try my hand at doing that. This was just simple case of putting a cat in a Halloween costume, this was an actual carved jack-o-lantern as the head of the cat. The size of pumpkin we were talking about would be too heavy for the cat to hold up on its own, plus that sounded just mean. The trick would be to carve out a jack-o-lantern from the bottom, suspend it in the air somehow, and then get the cat to put its head up into the pumpkin on its own.
Picking the “Head” For Your Shoot
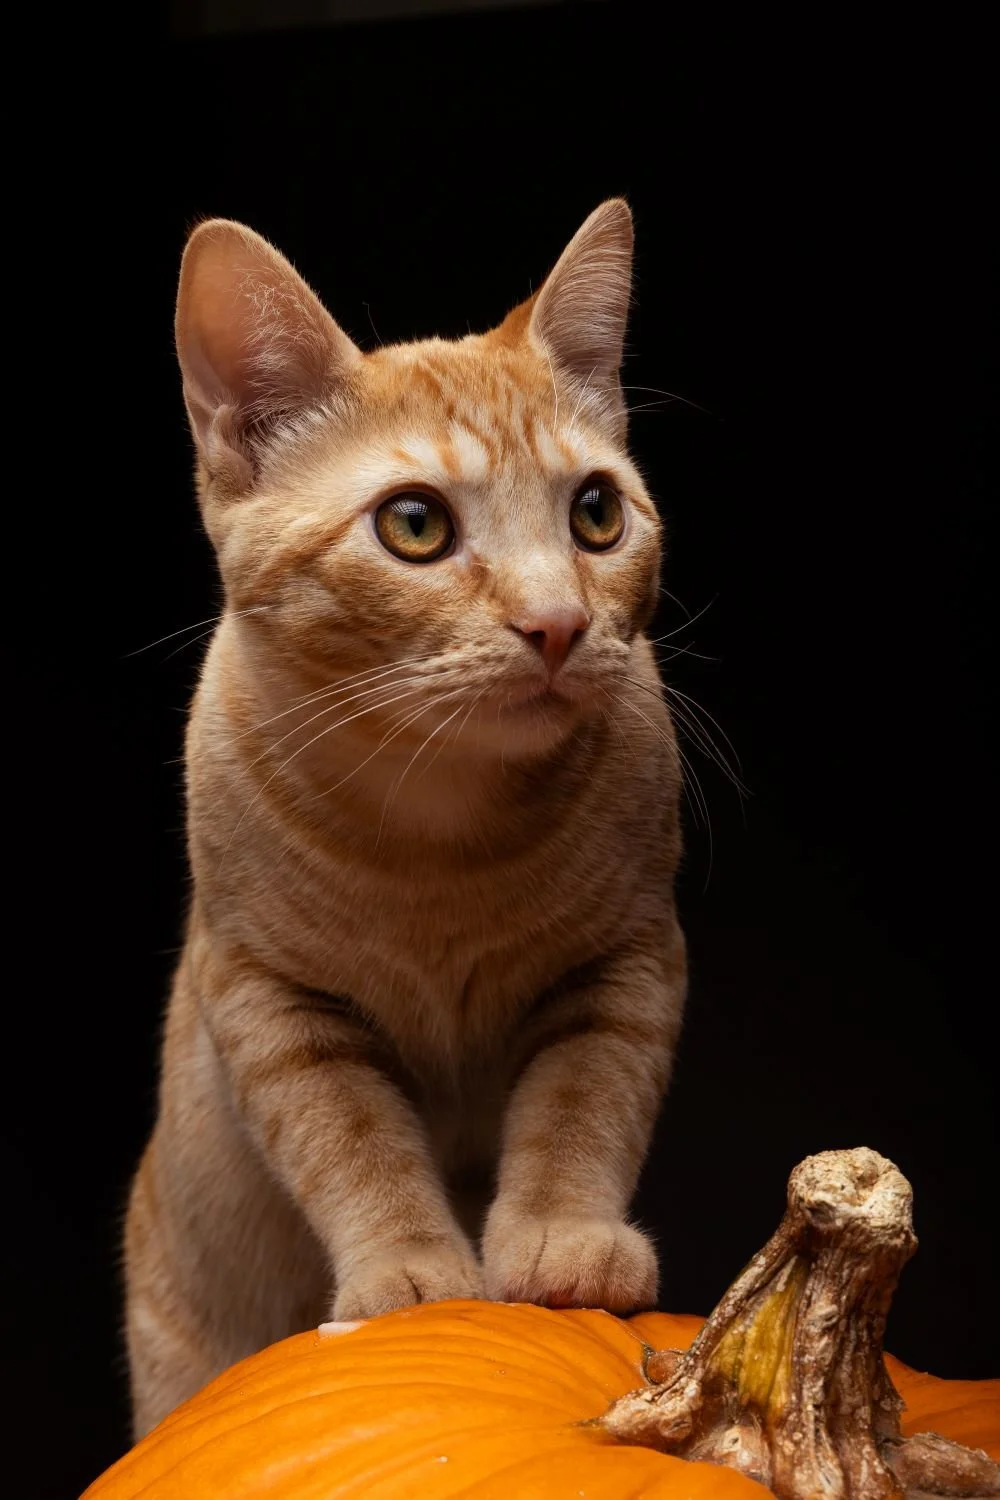
Step one is finding a pumpkin that’s the right size. Don’t try for anything that would be a tight fit, it can be bigger than you’d think. Just keep in mind weight. Find a good balance of not being too small for the cat to comfortably want to stick its head into and not being too heavy. You won’t know how thick the walls of the pumpkin are until you open it up, so be ready to potentially scrape away some of the thickness of the pumpkin if needed. carve the pumpkin however you like, but instead of cutting the top of the pumpkin off like you normally would, go from the bottom.
Make Your Pumpkin “Float”
You need a way to suspend the pumpkin in the air in a way that won’t scare the cat, and is safe for the cat. For this we cut a hole in each side of the pumpkin and ran multiple strands of string through the pumpkin so that it was kind of like a “pumpkin zipline”. We started with fishing line because it’s virtually invisible, but we ran into problems with the fishing line. It was very hard to thread through the pumpkin, when you lifted up the pumpkin, it would begin to slice its way up the sides, and once we added padding so the slicing would stop, it was very prone to snapping. We opted for multiple strands embroidery string instead because it could hold significantly more weight and was easier to work with. keep in mind, even though we used black embroidery string against a black background, I still have to go in after and photoshop out the string. Your mileage may vary, but you should be comfortable doing those sorts of edits (nowadays it is surprisingly simple to do).
Once the pumpkin was strung up, I tied it to 2 light stands and had 2 assistants use them as levers so that when the stands were pulled back, the pumpkin raised into the air. You could just have people hold either end of the string and hoist the pumpkin up, but using the stands was much easier on the assistants and kept the pumpkin nice and steady.
Setting the Scene
Once you have your “floating pumpkin, next you need to pick your location and craft your lighting setup. I decided that I wanted a simple setup, with no props or background elements to distract away from the cat. I felt that a cat with a pumpkin for a head was wild enough that anything else in the photo would just be a distraction. This is totally personal preference as well as what kind of lighting setup you prefer, however, here I will tell you about what I used to achieve these photos.
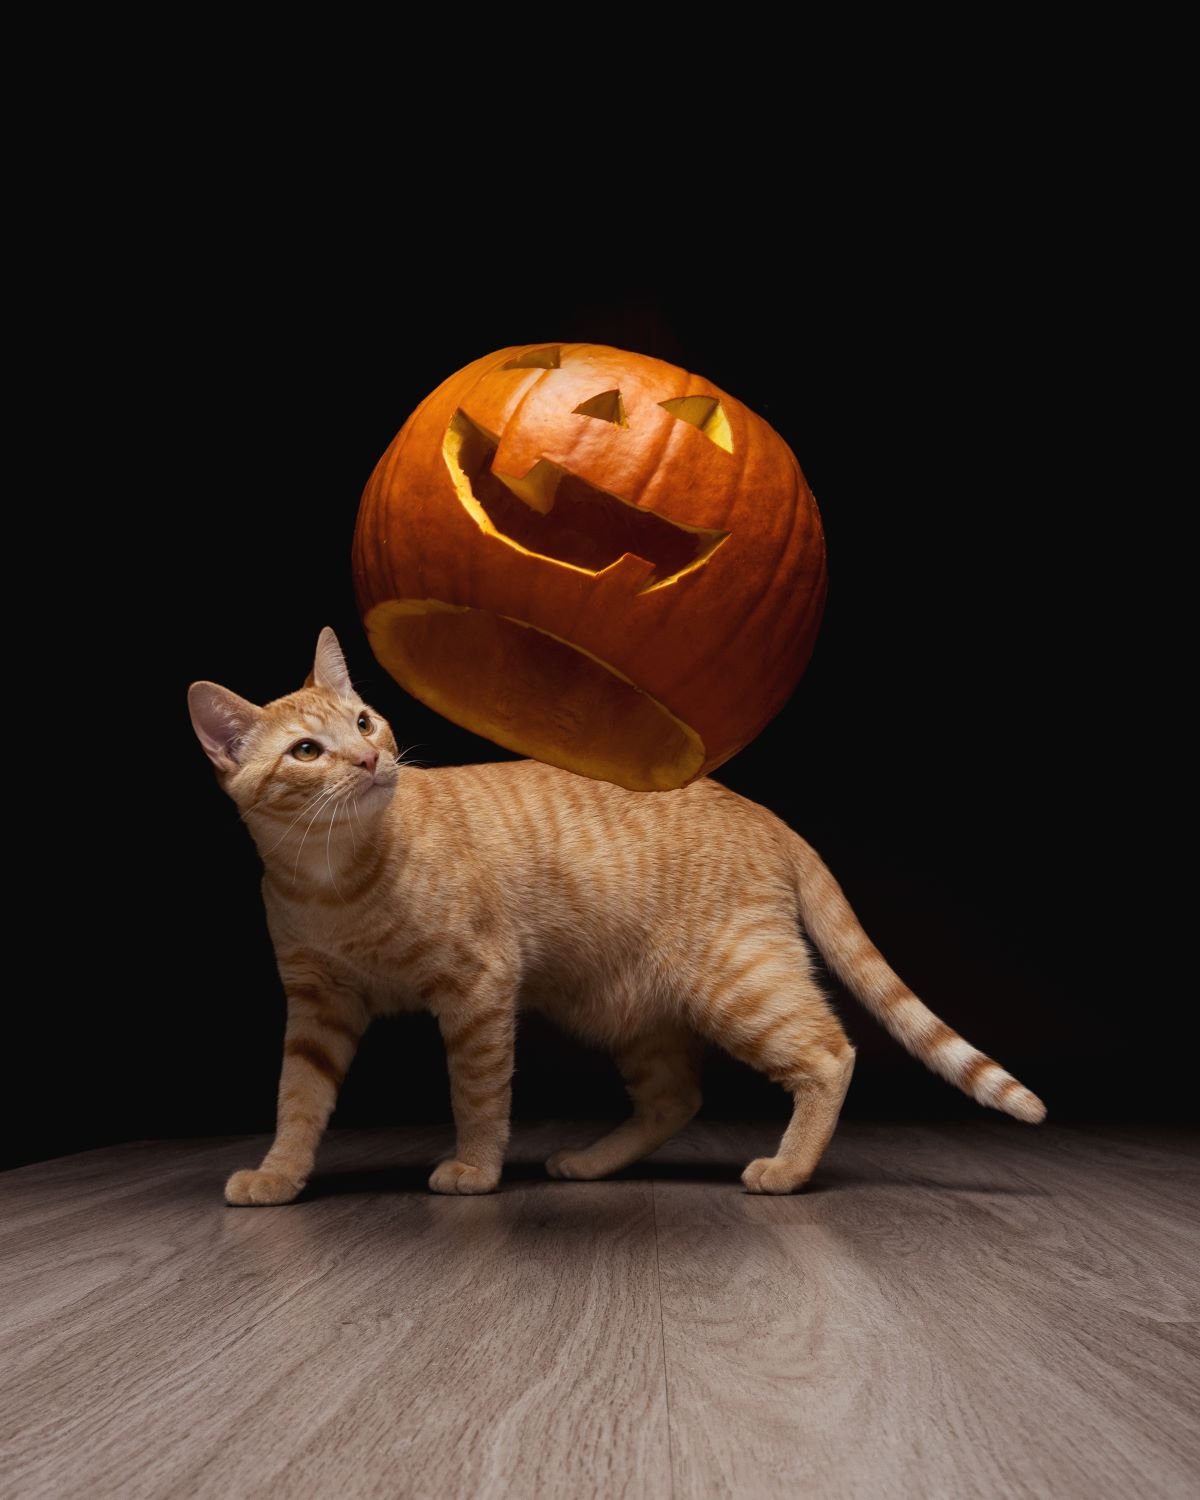
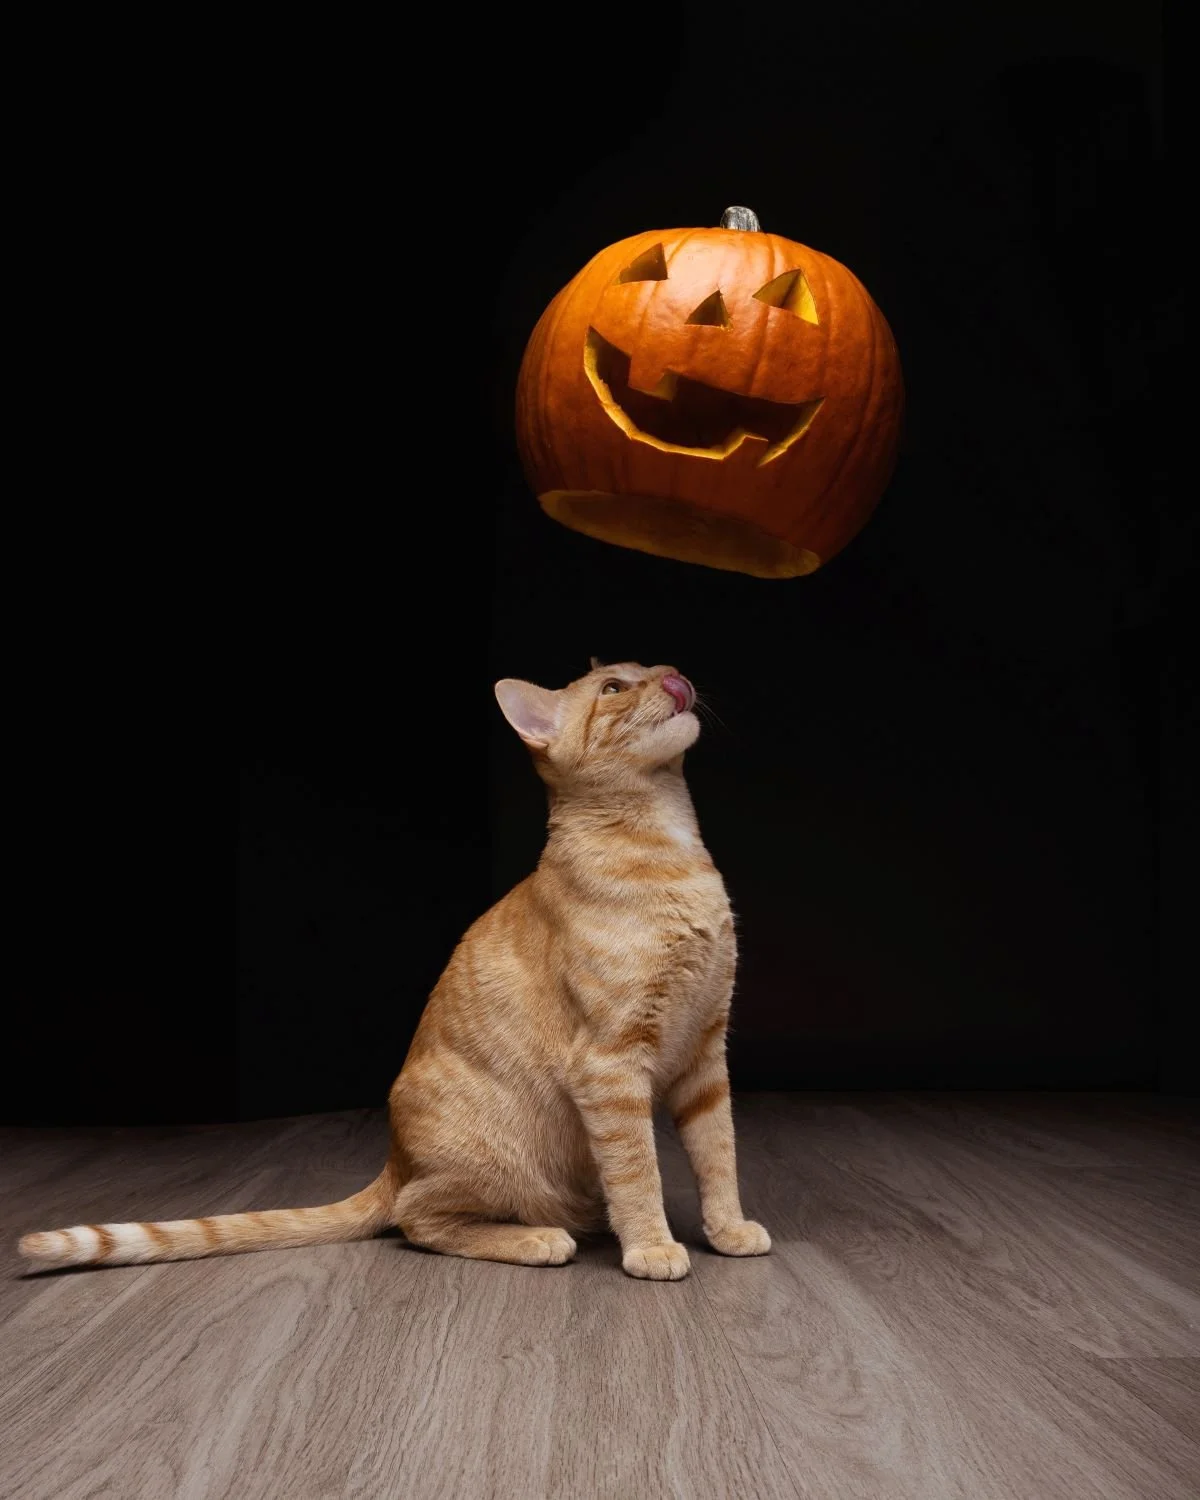
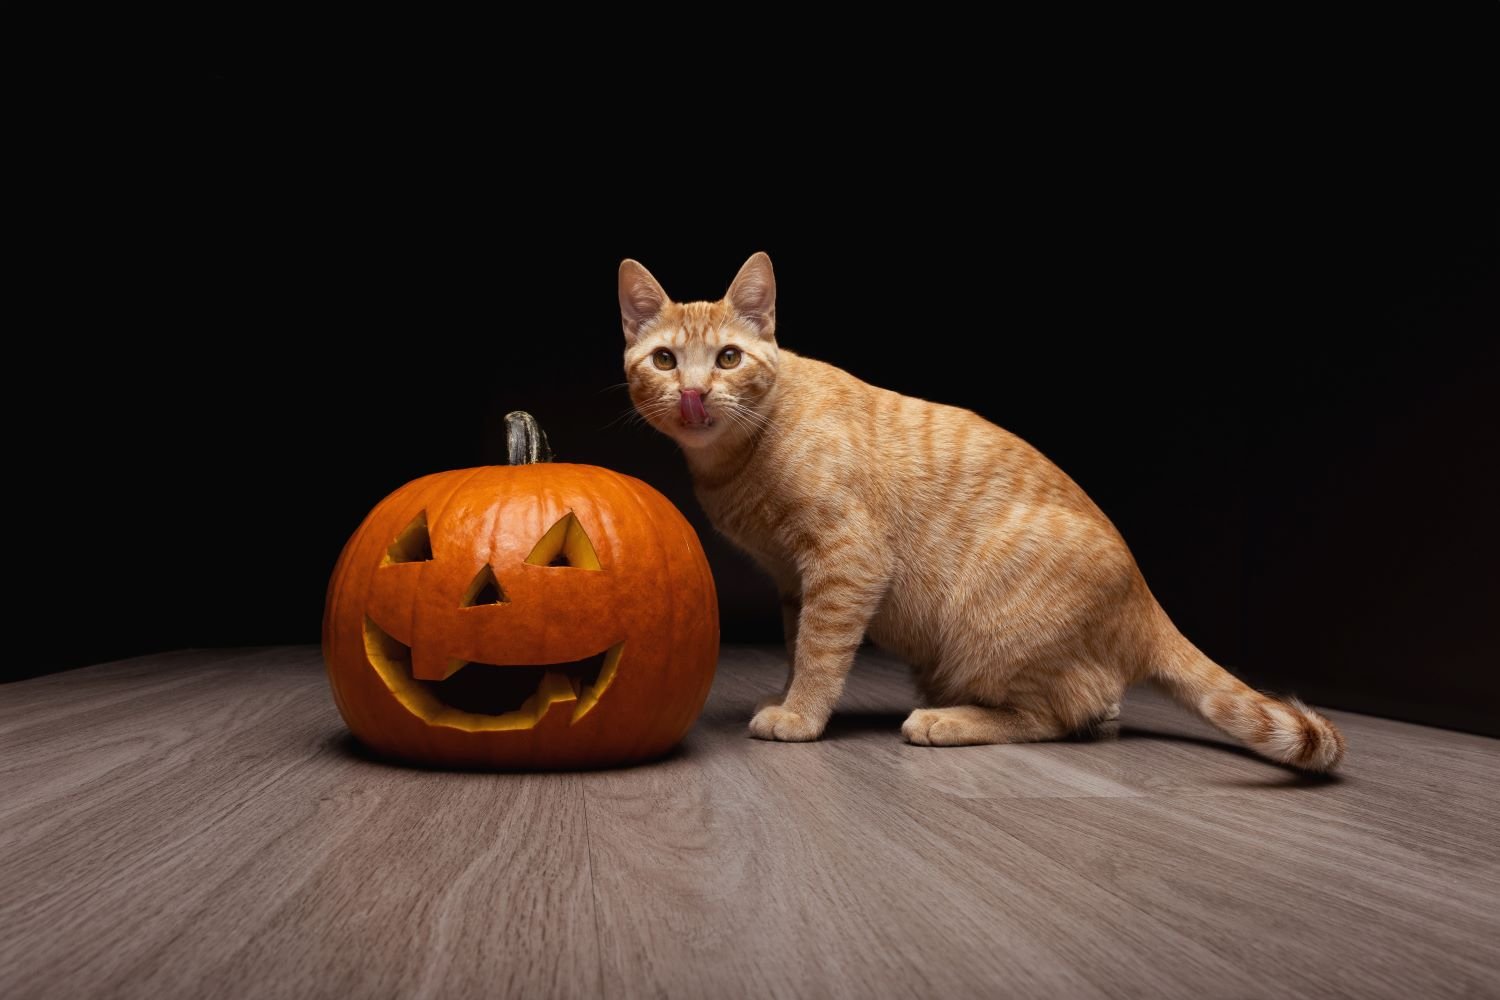
First was the light. I used a 300watt studio strobe with a large softbox and grid attached, positioned above and slightly in front of the pumpkin. This would give me a soft flattering light source and the grid would ensure the light only went onto the cat, creating a little bit of a spotlight look. I wanted the background to fall off into shadow. The shadow in the “floating pumpkin” picture should give you a good idea of where the light was positioned. I also made sure to put the light as close as possible to the pumpkin without it being in the picture frame. As a general rule of thumb, the larger and closer your light source is, the softer and more flattering the light will be on your subject. If you don’t have a strobe, I’d recommend doing this right next to a large window during the day, but not with direct sunlight coming in the window.
The hardwood floor where these pictures were taken is a light grey, reflecting light up and filling in a bit of the shadows beneath the subject. This also will help illuminate the cat once it is under the pumpkin. If the floor of your scene is dark, you may want to consider using a white reflector or white posterboard to bounce some light up towards the cat or you can expect your shadows to be darker.
For the background, I used a roll of black paper which I found at my local craft store for $15. I taped the end of the roll to the top of a counter and unrolled it until it touched the ground. After the shoot was done, I just rolled it back up and can use it again for another shoot.
The last thing I added were 2 V-flat reflector boards. For those who are unfamiliar, these are essentially 4 poser boards connected together that unfold into a large square object with one white side and one black side. I made my own using materials I bought at my local craft store for a fraction of the price of buying a name-brand one. There are tutorials on Youtube on how to make these and they are an incredible tool to have to improve your photography.
I position one V-flat on either side of the scene with the black side facing in. This will ensure there is no light bouncing all over the place and will maintain a darker, moodier vibe to the photos. If you were to flip them to the white side, your photos would look a little more bright and airy.


Getting The Shots
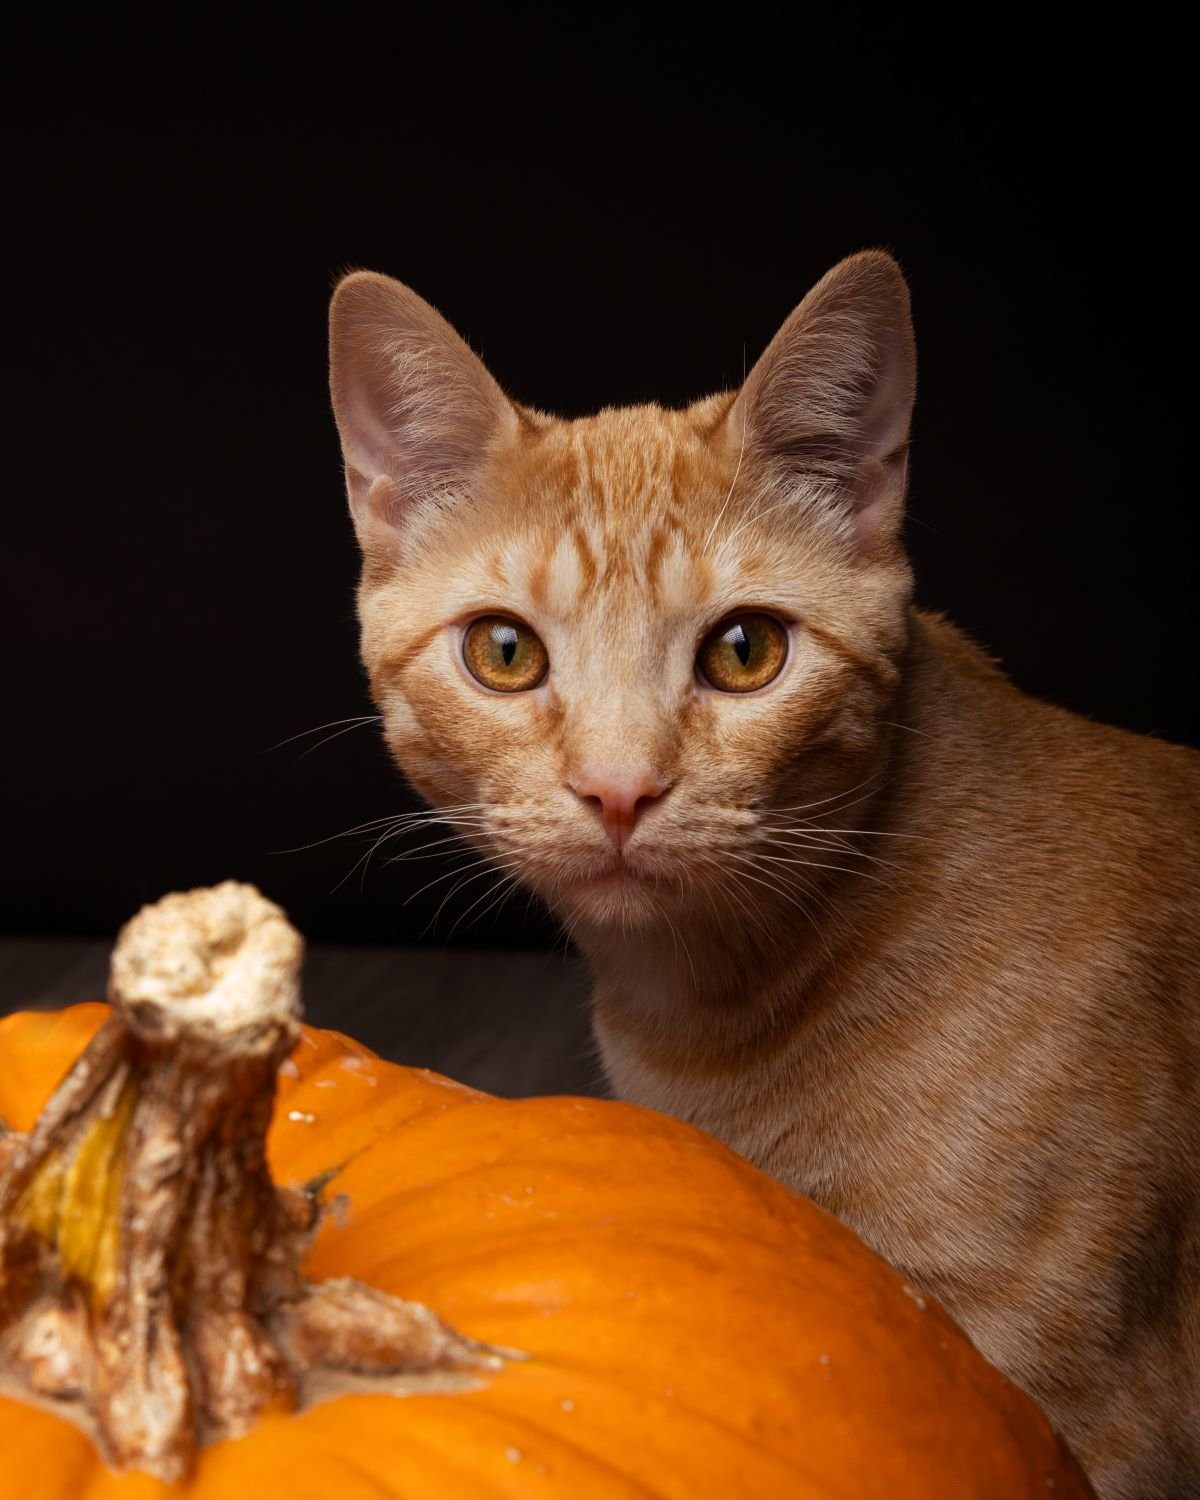
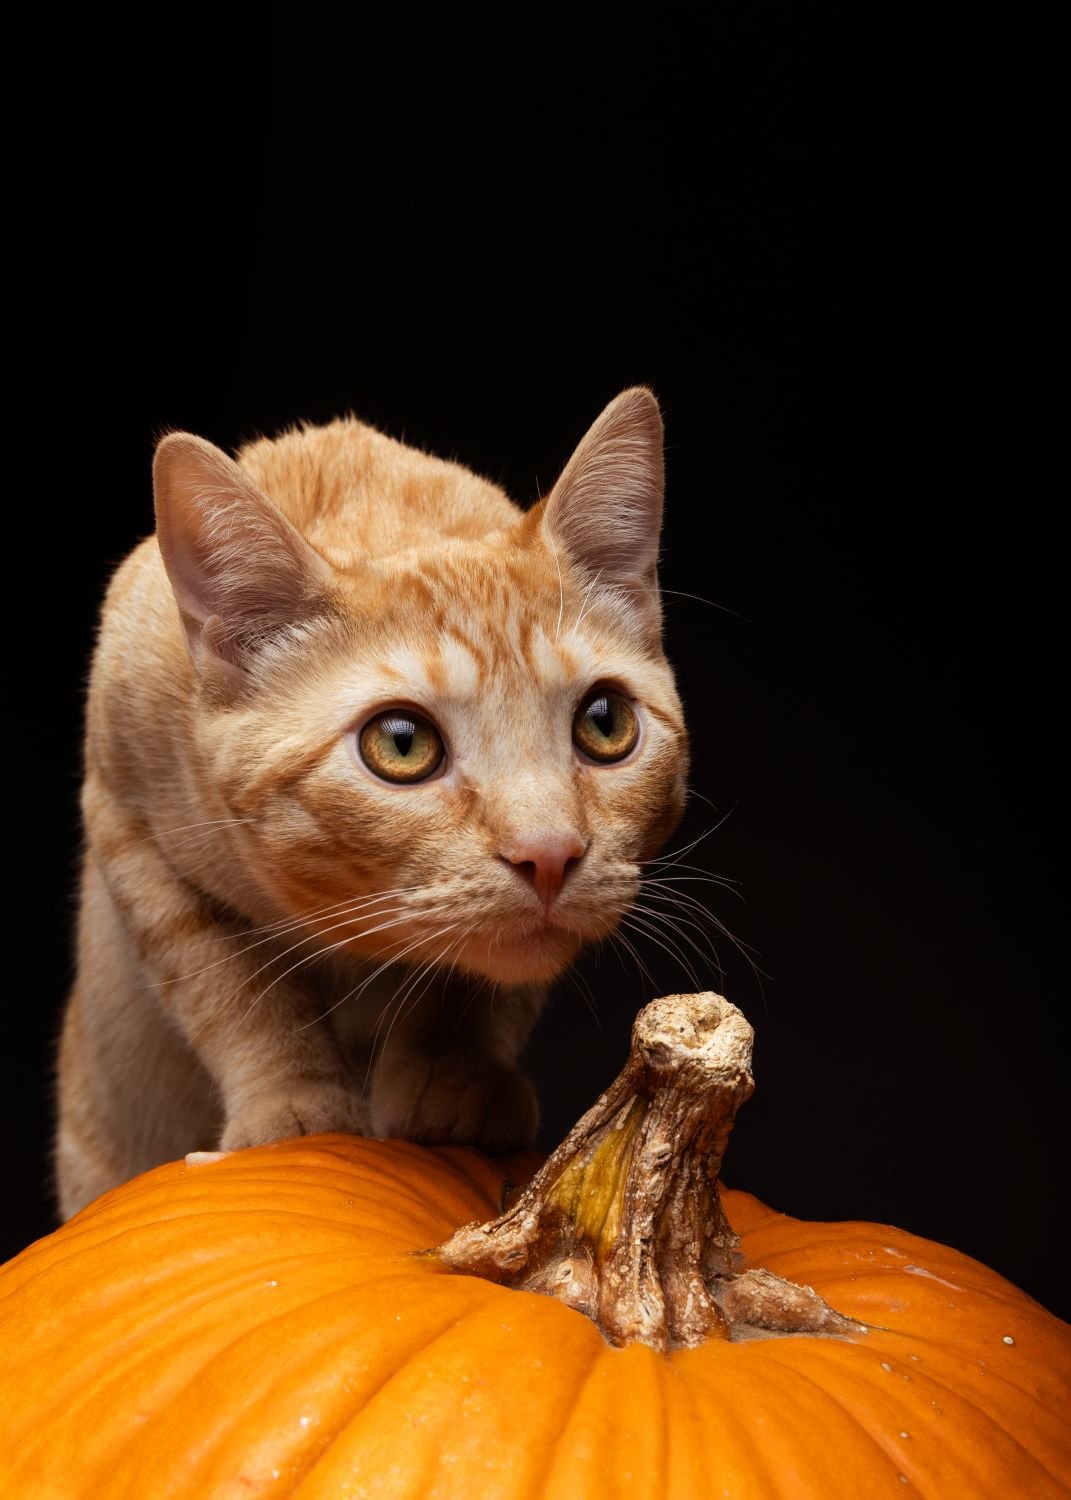
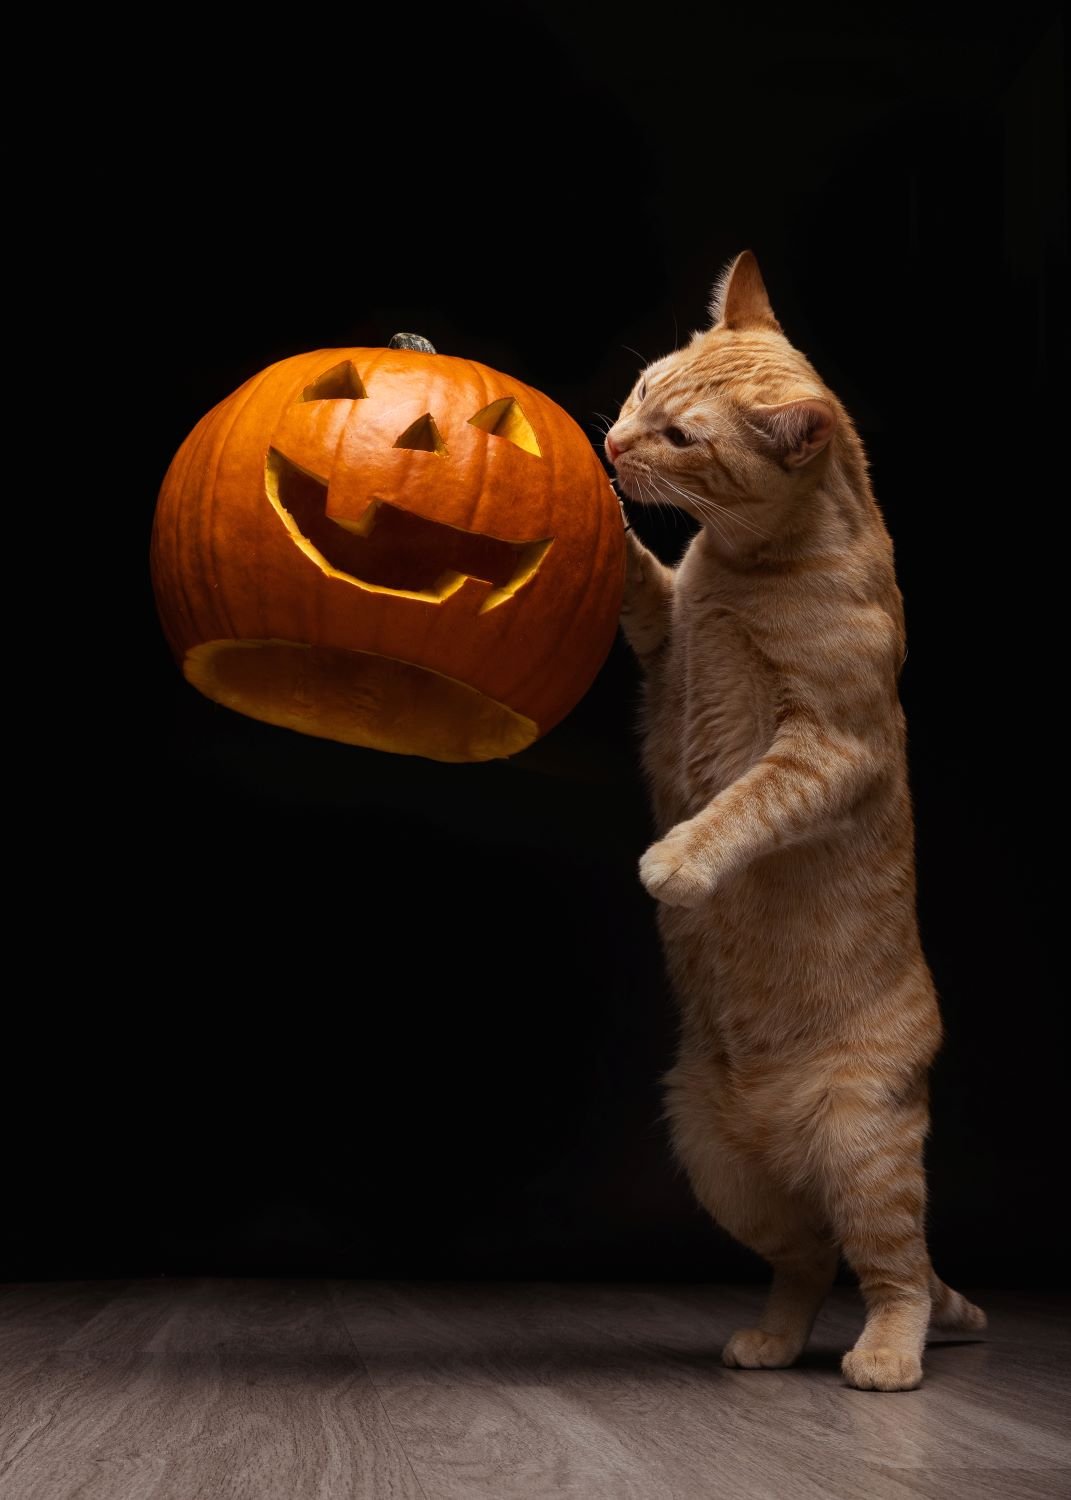
Now the fun part! Don’t worry, there is no wrestling your cat into a pumpkin head. We’re not forcing the cats to do anything they don’t want to. To get our star, Cheddar, to put his head up into the pumpkin, we simply spread some wet cat food on the inside of the pumpkin, lifted it up, and waited for the magic to happen! Since you’ve taken the time to create such a nice lighting environment, don’t forget to take some other pictures as well! Here are the pictures I got from this shoot.
Professional Photography Services Near You
I offer photography services in the Denver, CO area. Feel free to reach out to inquire about your shoot, learn more about me, or check out my portrait, headshot, and event photography portrfolios!